DI
Step 1: NEEDED METERIALS


- 10MM BY 10MM WOOD
- 2.5MM PLYWOOD
- 3MM BY 20MM SCREWS AND NUTS
- 20 AMP ESC. X3
http://www.hobbyking.com/hobbyking/store/uh_viewItem.asp?idProduct=27775
-LIPO CHARGER
http://www.hobbyking.com/hobbyking/store/uh_viewItem.asp?idProduct=7637
- BRUSHLESS MOTOR X3
http://www.hobbyking.com/hobbyking/store/__5354__FC_28_22_Brushless_Outrunner_1200kv.html
-PROPELLER
http://www.hobbyking.com/hobbyking/store/__25820__10x4_5_SF_Props_2pc_Standard_Rotation_2_pc_RH_Rotation_Green_.html
-TRANSMITTER
http://www.hobbyking.com/hobbyking/store/__8338__Hobby_King_2_4Ghz_4Ch_Tx_Rx_V2_Mode_2_.html
-CONTROL BOARD OR GYRO
http://www.hobbyking.com/hobbyking/store/__24354__Hobbyking_i86L_Multi_Rotor_Control_Board_Lite_Edition_.html
-BATTERY
http://www.hobbyking.com/hobbyking/store/__8934__Turnigy_2200mAh_3S_25C_Lipo_Pack.html?strSearch=2200MAH
-SERVO
http://www.hobbyking.com/hobbyking/store/uh_viewItem.asp?idProduct=17322
AND
http://www.hobbyking.com/hobbyking/store/__9549__Turnigy_TG9e_9g_1_5kg_0_10sec_Eco_Micro_Servo.html
-WIRE X6
http://www.hobbyking.com/hobbyking/store/__11851__Turnigy_Pure_Silicone_Wire_18AWG_1mtr_Red.html
-WIRE HARNES
http://www.hobbyking.com/hobbyking/store/uh_viewItem.asp?idProduct=25479
- BULLET CONNECTORS X2
http://www.hobbyking.com/hobbyking/store/__68__PolyMax_3_5mm_Gold_Connectors_10_PAIRS_20PC_.html
-WIRE TO CONNECT TO FROM RECEIVER TO GYRO
http://www.hobbyking.com/hobbyking/store/__21758__10CM_Male_to_Male_Servo_Lead_JR_26AWG_10pcs_set_.html
-HEAT SHRINK TUBING
http://www.hobbyking.com/hobbyking/store/__3832__Turnigy_4mm_Heat_Shrink_Tube_BLACK_1mtr_.html
-6MM OR ANY SMALL CLEAR TUBE
-AND A LOT OF ZIP TIES!!
--------------------------------------------------THEESE ARE THE REQUIRED MATERIALS-------------------------------------------------------------------

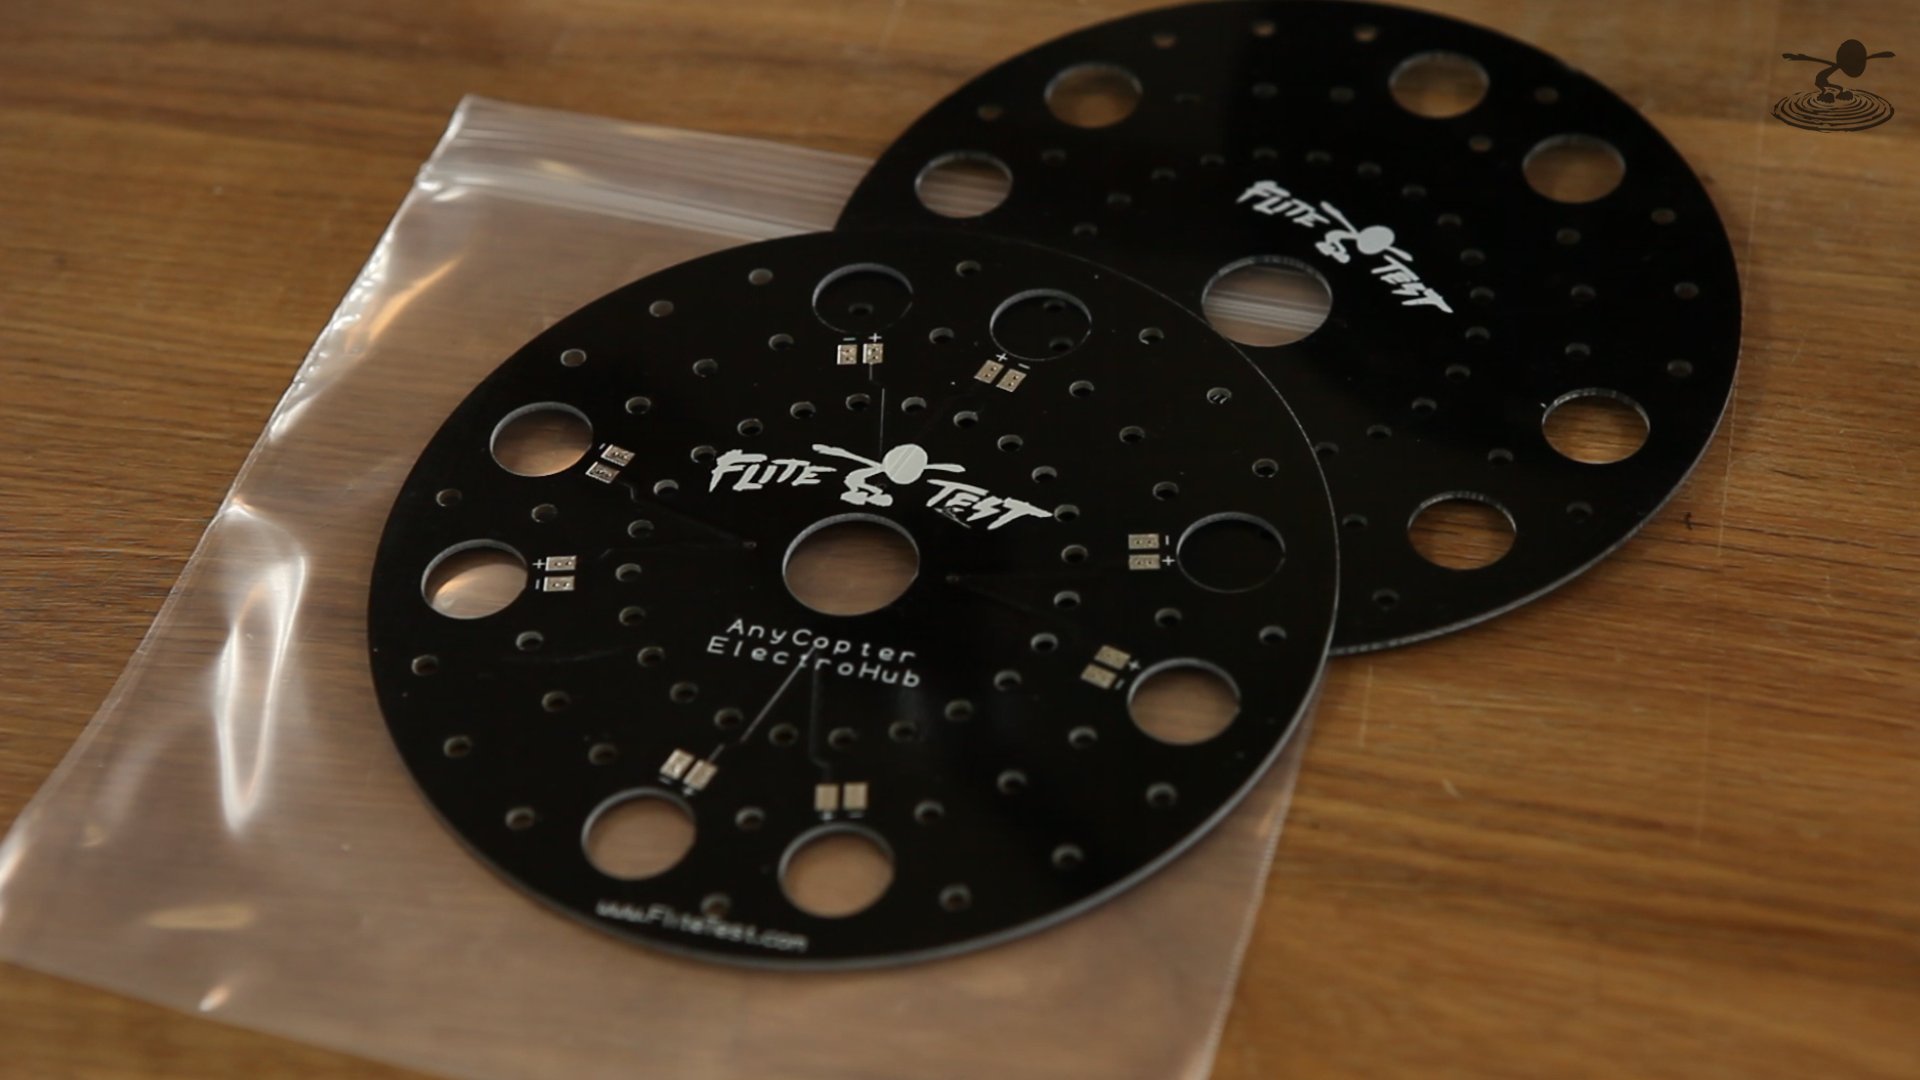
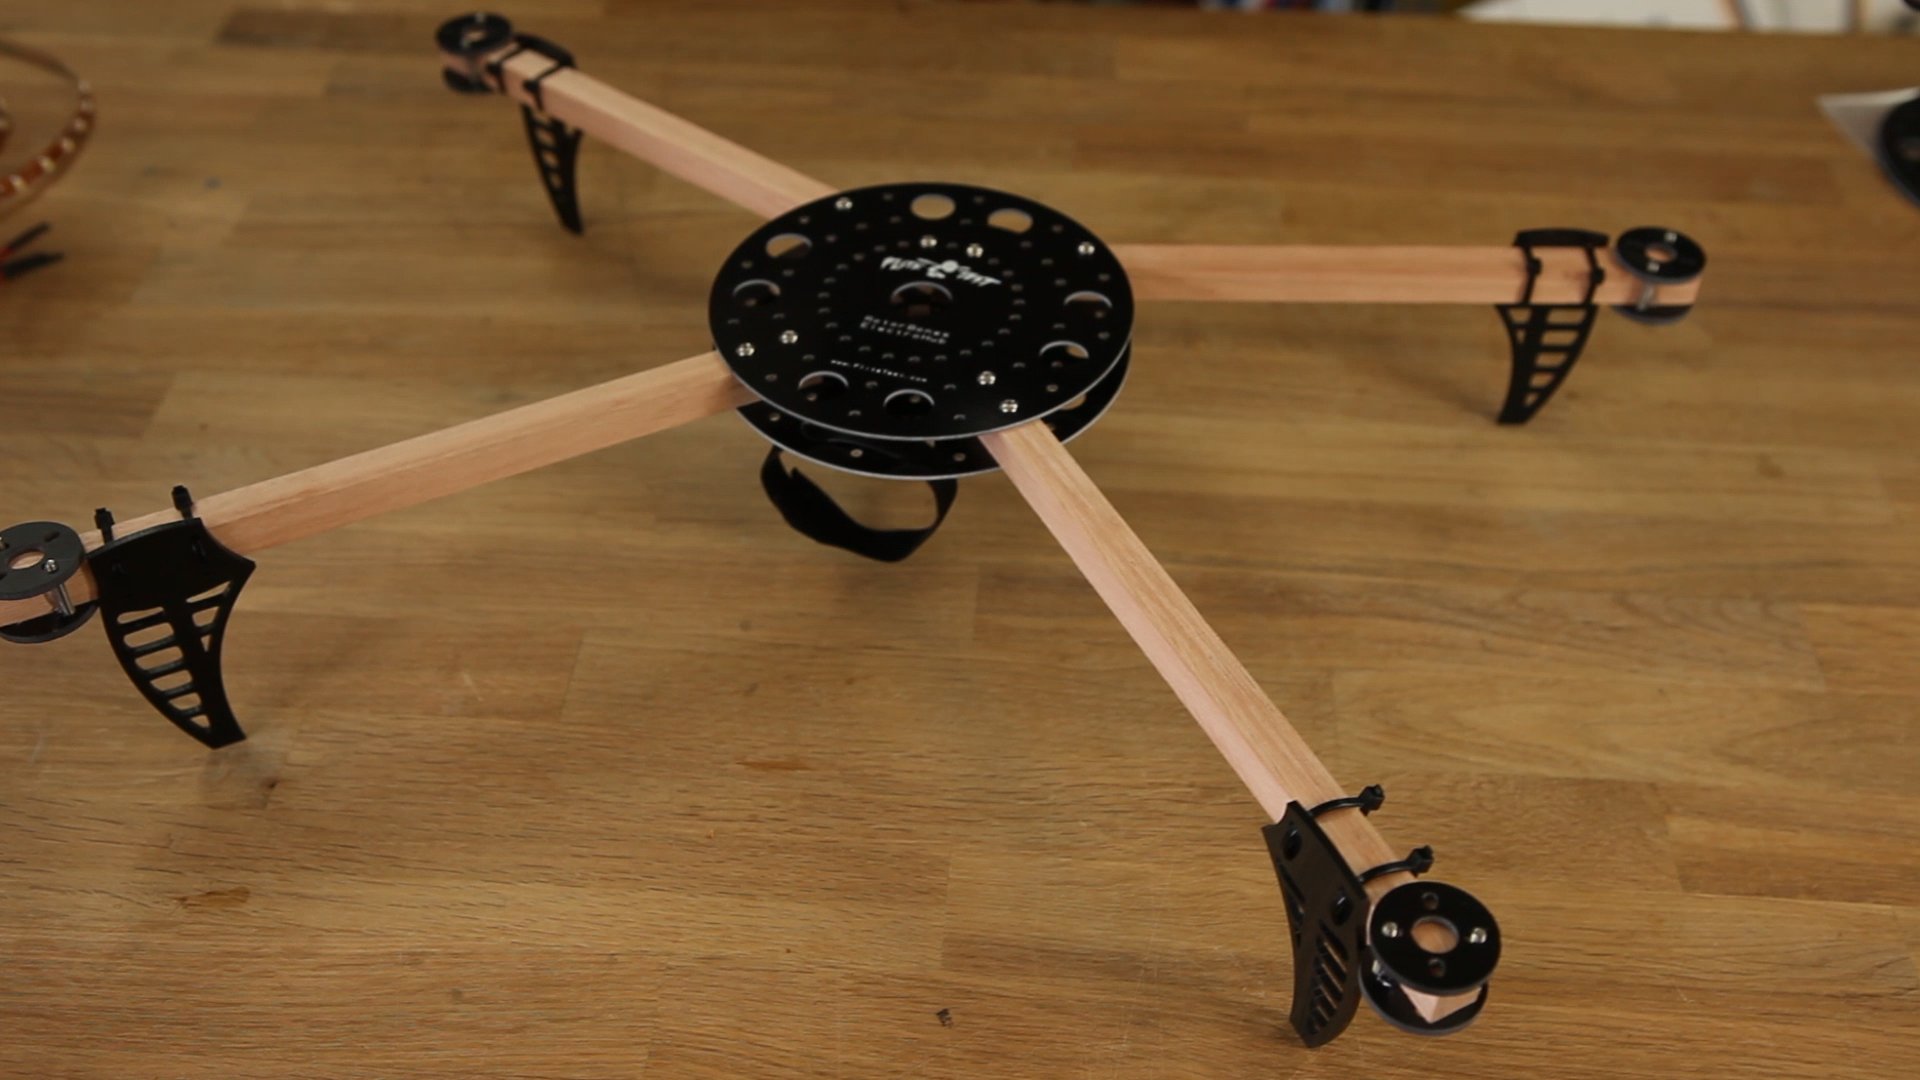
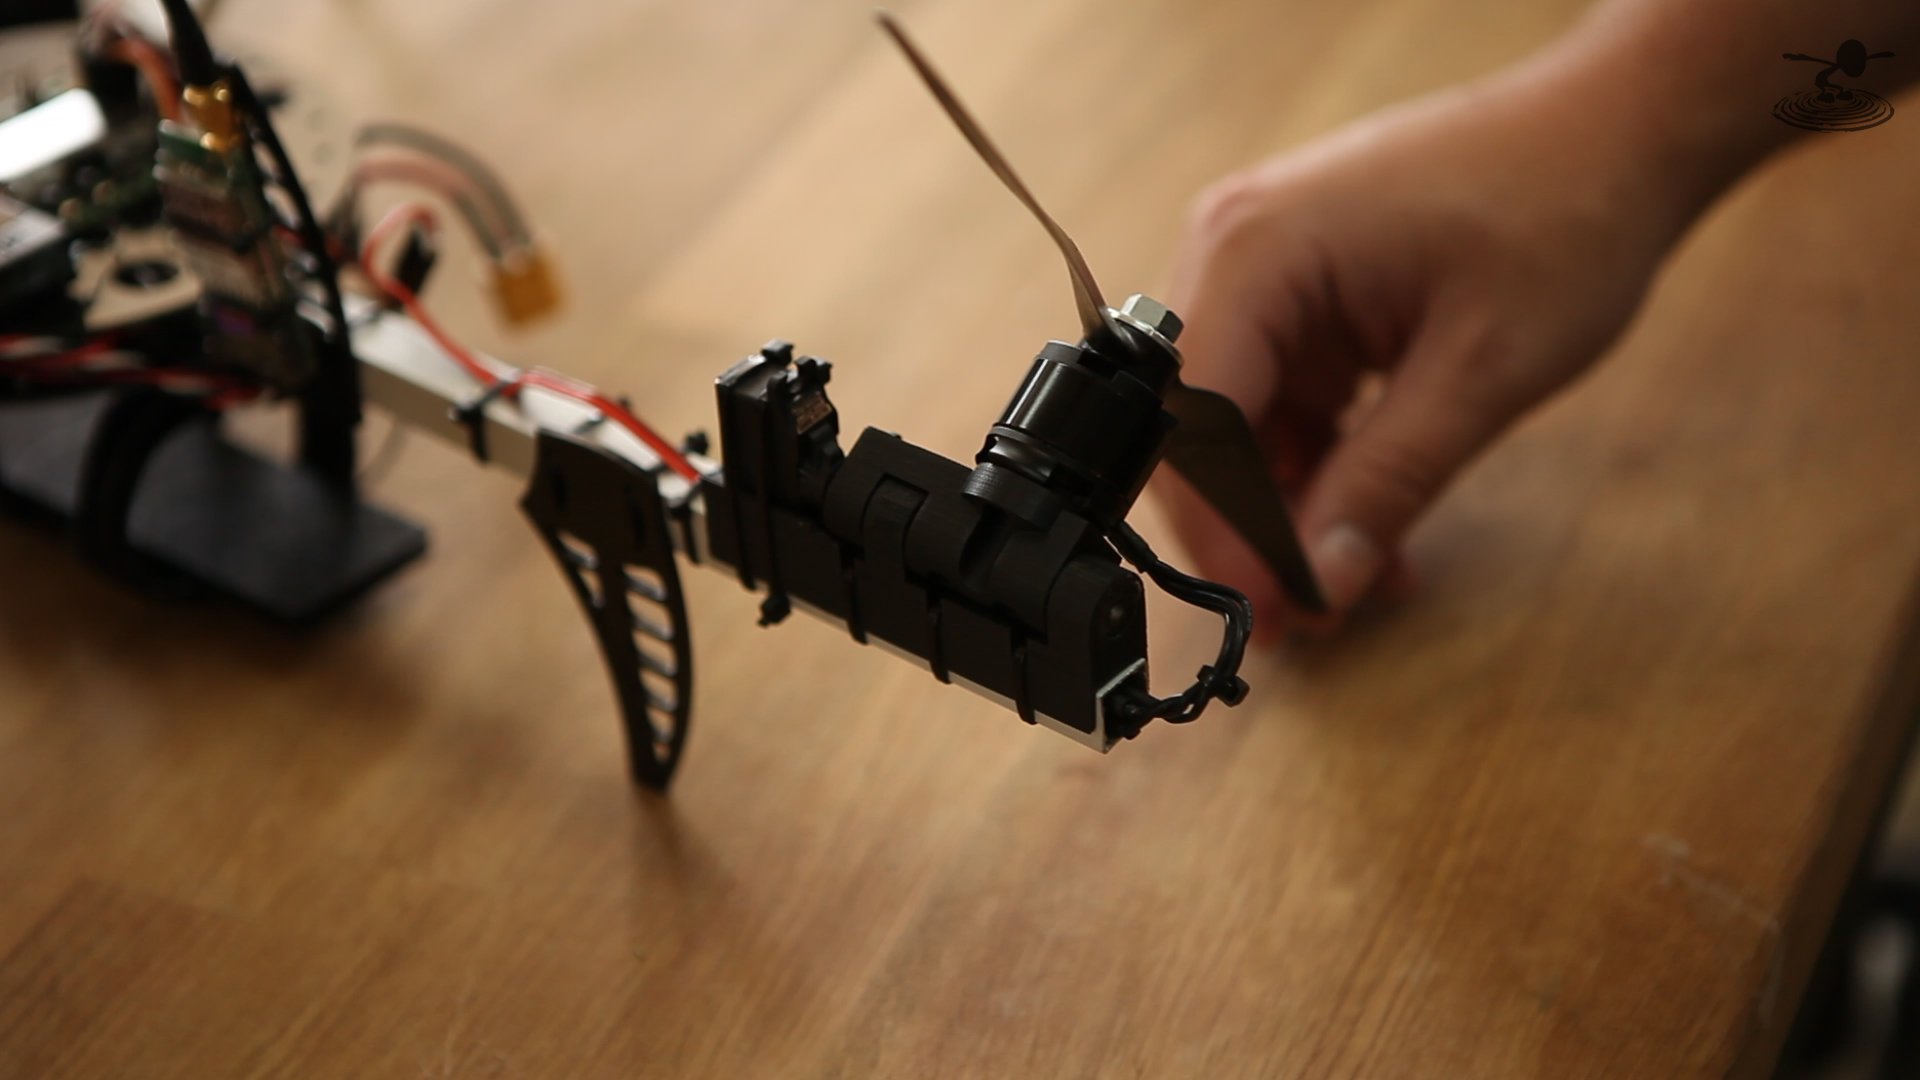
Step 3: THE FRAME


CUT THE 10MM BY 10MM ARMS INTO 3 PIECES OF 50CM EACH.
CUT OUT THE FRAME FROM THE PAPER AND PASTE IT OVER THE PLY WOOD TO USE IT AS A STENCIL.
USE A SAW TO CUT OUT THE FIRST LAYER. AFTER CUTTING THE FIRST LAYER USE IT TO CUT OUT ANOTHER LAYER ON THE PLY WOOD . DRILL HOLES OVER THE MARKED AREAS.
use the template to drill a 3mm hole on the wooden dowel.
insert screws through the top frame and insert the wooden dowel through the screws
and put the bottom frame and screw them in place.
CUT OUT ANOTHER PIECE OF WOOD FOR THE BATTERY MOUNT
ZIP TIE BOTH SIDES OF BATTERY MOUNT TO PLASTIC TUB.
DRILL TWO SMALL HOLES ON THE FRAME FOR ZIP TIE TO PASS THROUGH (TWO IN FRONT AND TWO AT THE BACK)
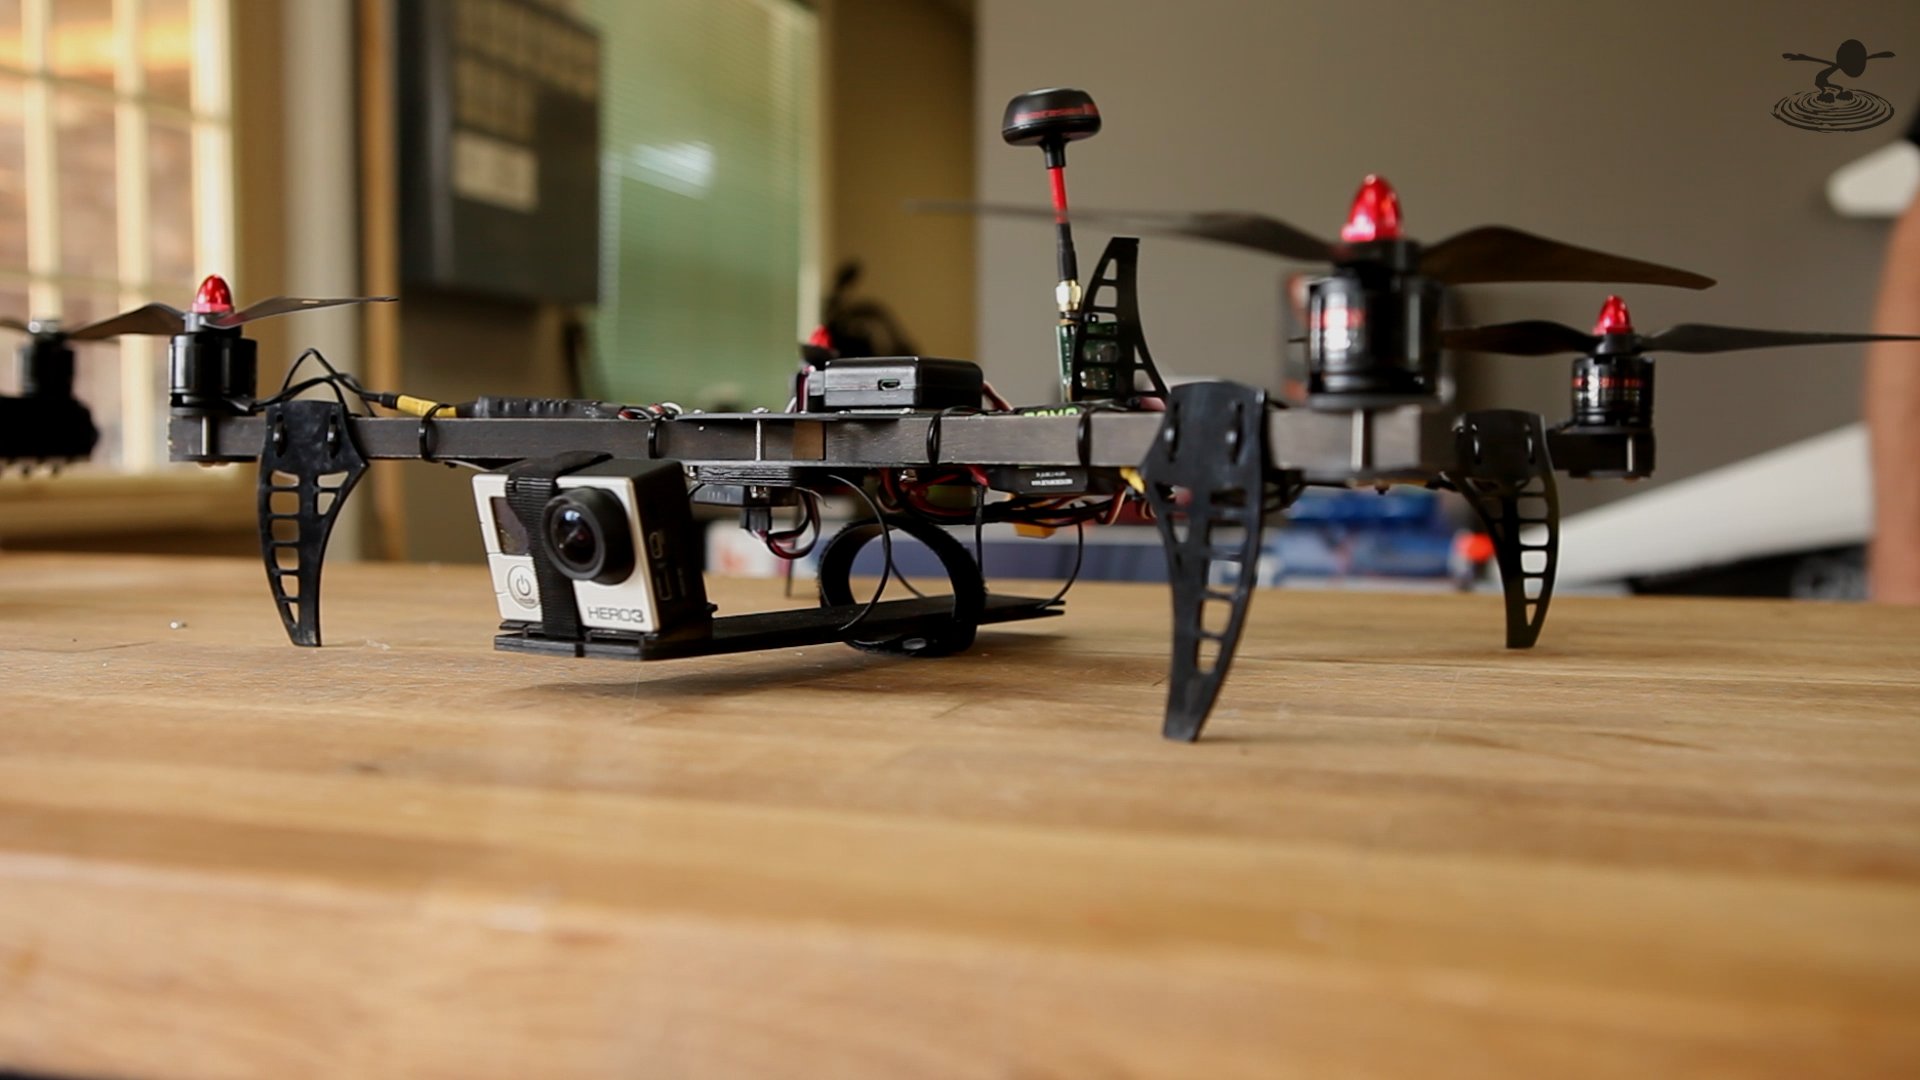
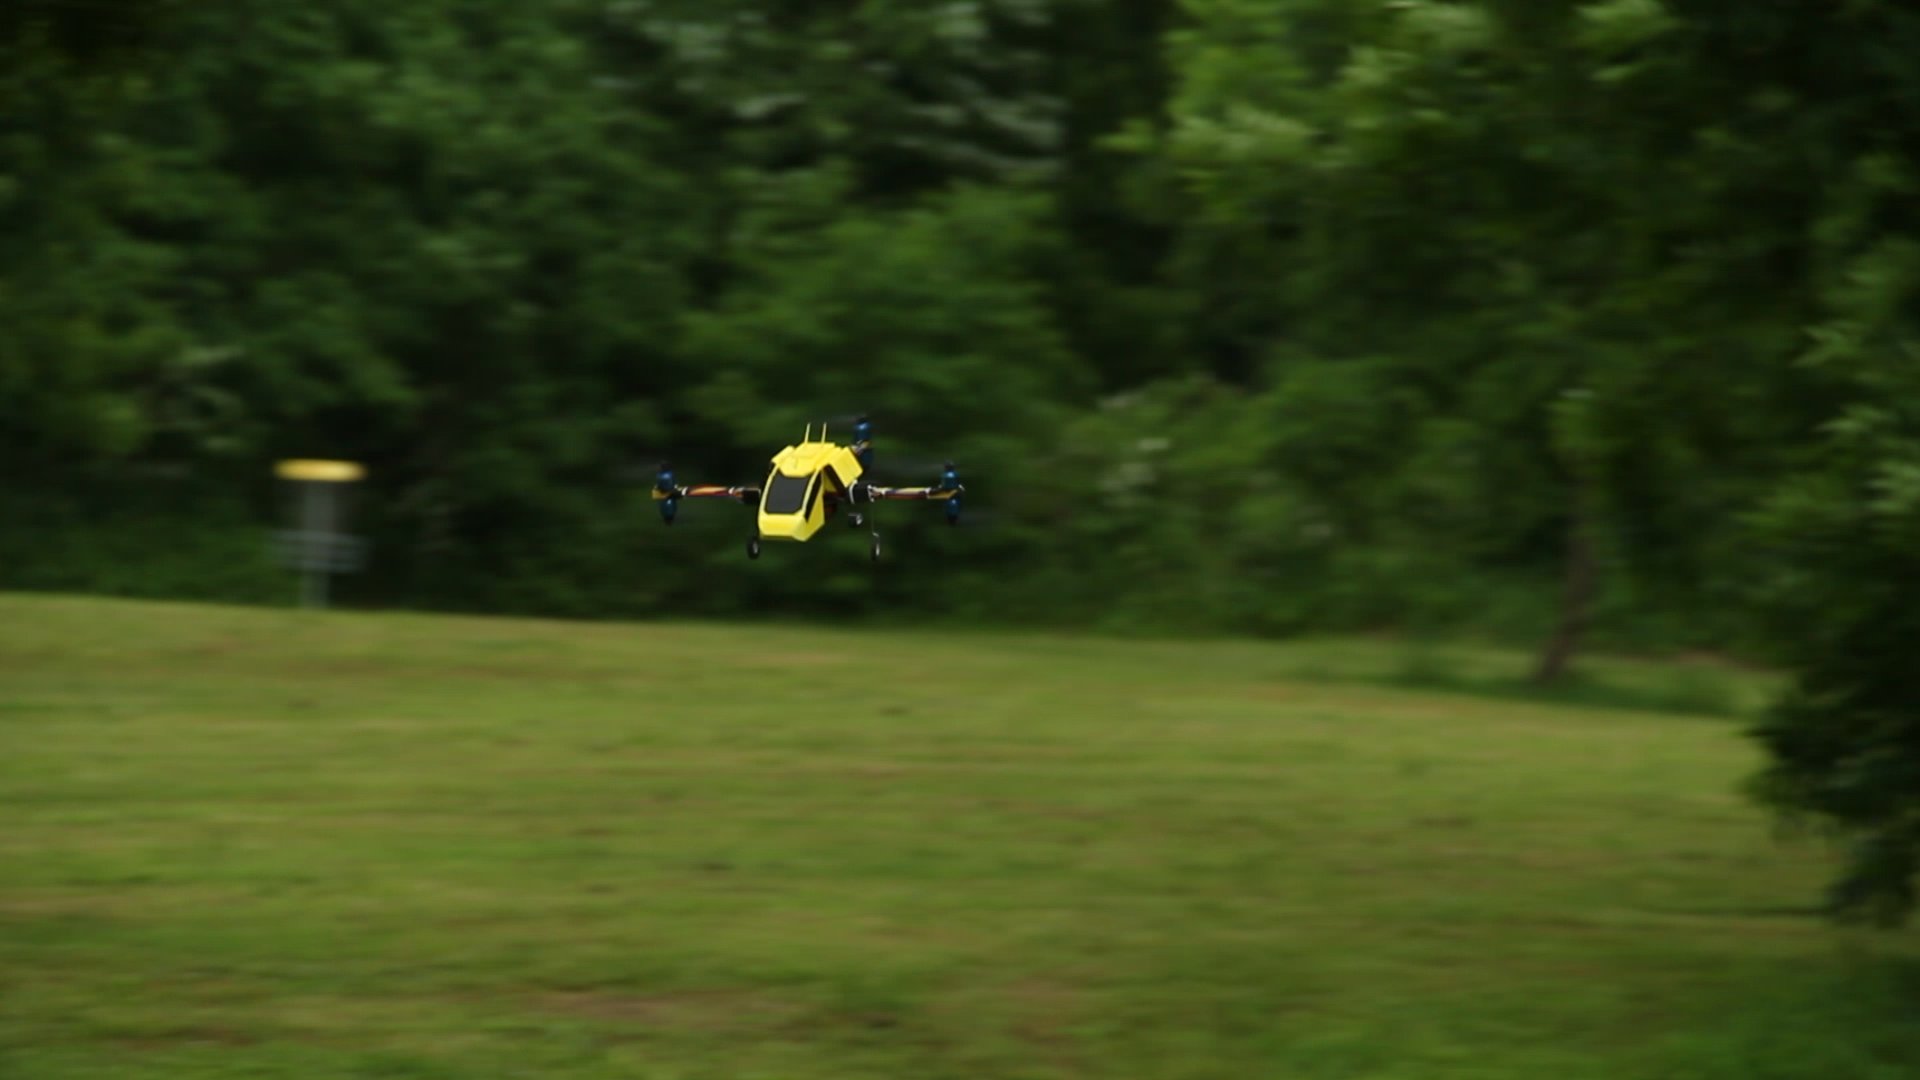
THE 6MM HOLE IS MADE FOR STANDARD CAMERAS TO BE MOUNTED FOR AERIAL PHOTOGRAPHY.
CUT OUT THE FRAME FROM THE PAPER AND PASTE IT OVER THE PLY WOOD TO USE IT AS A STENCIL.
USE A SAW TO CUT OUT THE FIRST LAYER. AFTER CUTTING THE FIRST LAYER USE IT TO CUT OUT ANOTHER LAYER ON THE PLY WOOD . DRILL HOLES OVER THE MARKED AREAS.
use the template to drill a 3mm hole on the wooden dowel.
insert screws through the top frame and insert the wooden dowel through the screws
and put the bottom frame and screw them in place.
CUT OUT ANOTHER PIECE OF WOOD FOR THE BATTERY MOUNT
ZIP TIE BOTH SIDES OF BATTERY MOUNT TO PLASTIC TUB.
DRILL TWO SMALL HOLES ON THE FRAME FOR ZIP TIE TO PASS THROUGH (TWO IN FRONT AND TWO AT THE BACK)
THE 6MM HOLE IS MADE FOR STANDARD CAMERAS TO BE MOUNTED FOR AERIAL PHOTOGRAPHY.
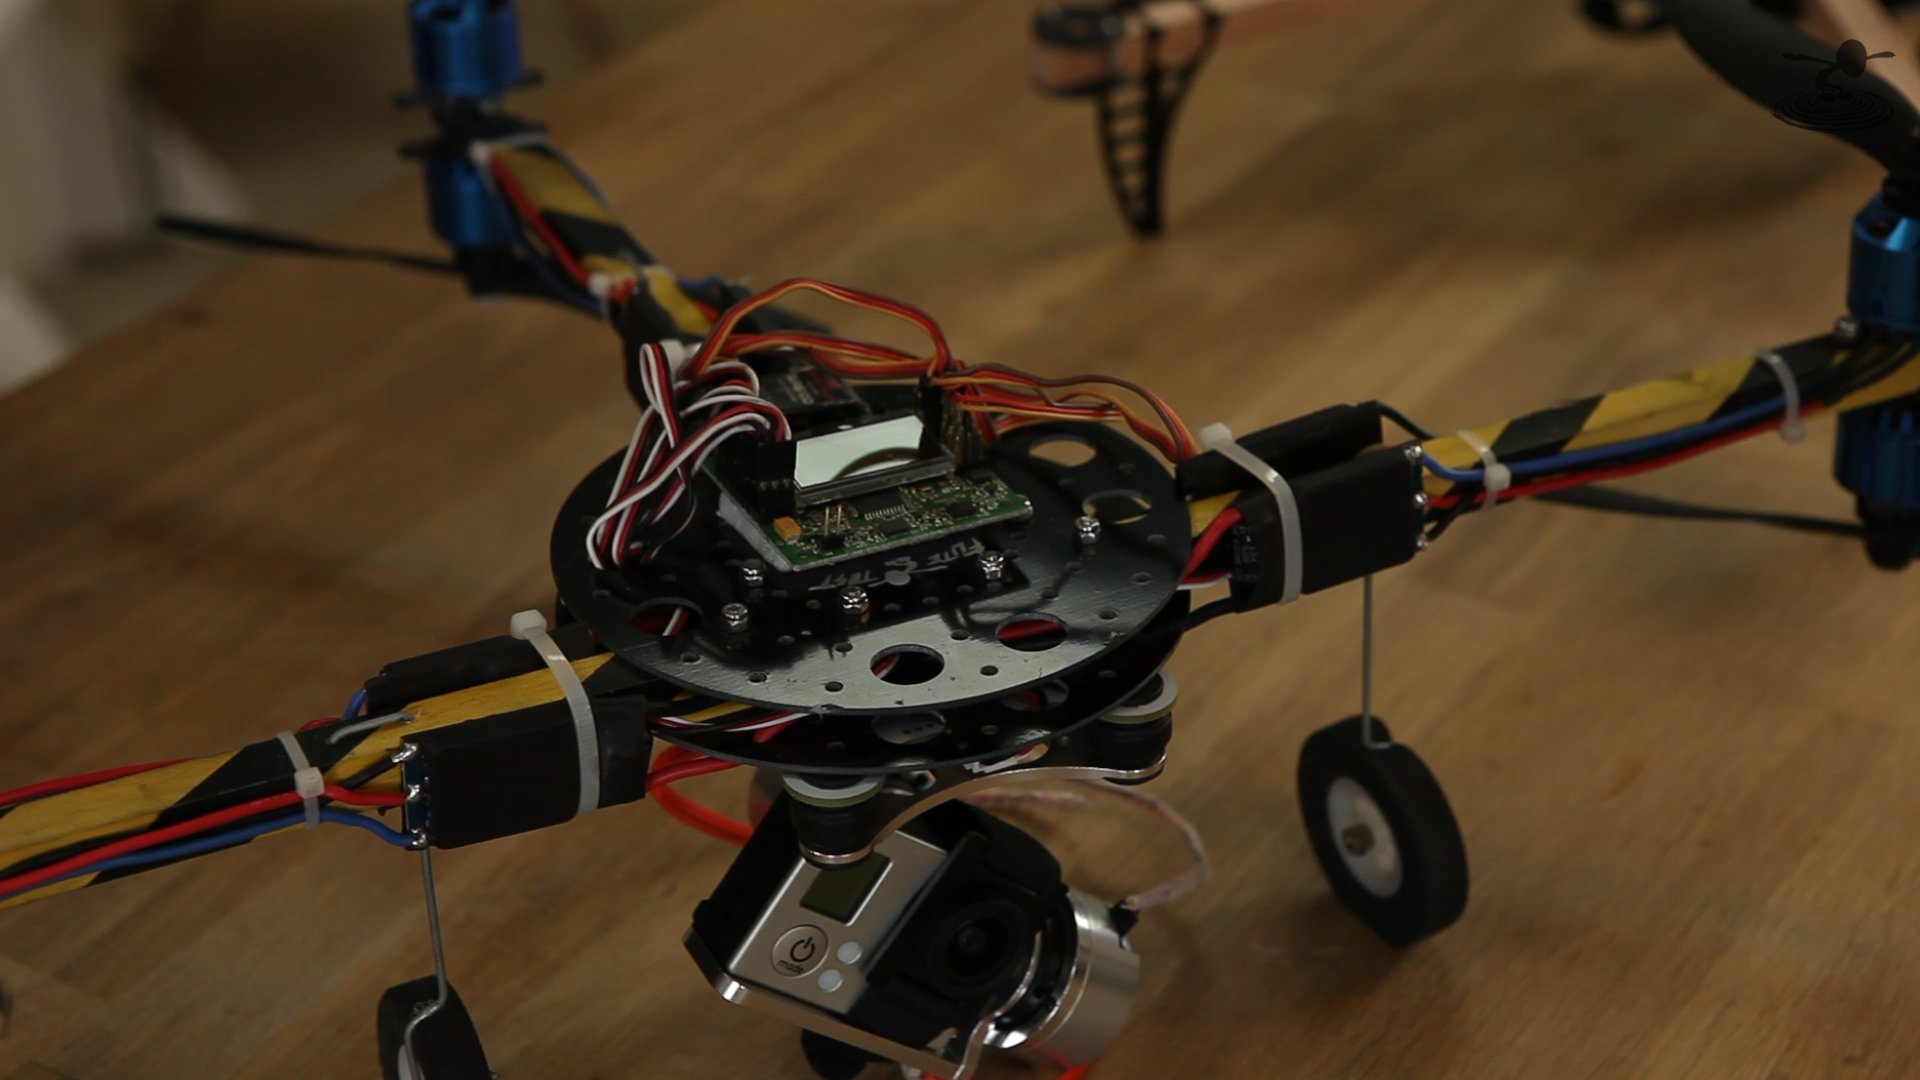
Step 4: ELECTRONICS


PLACE GYRO AND RECEIVER WITH DOUBLE SIDED FOAM TAPE AND CONNECT THE SERVO WIRES AS SHOWN IN THE PICTURE...